An annual weather average cannot tell you whether moisture will condense on a surface in your home.
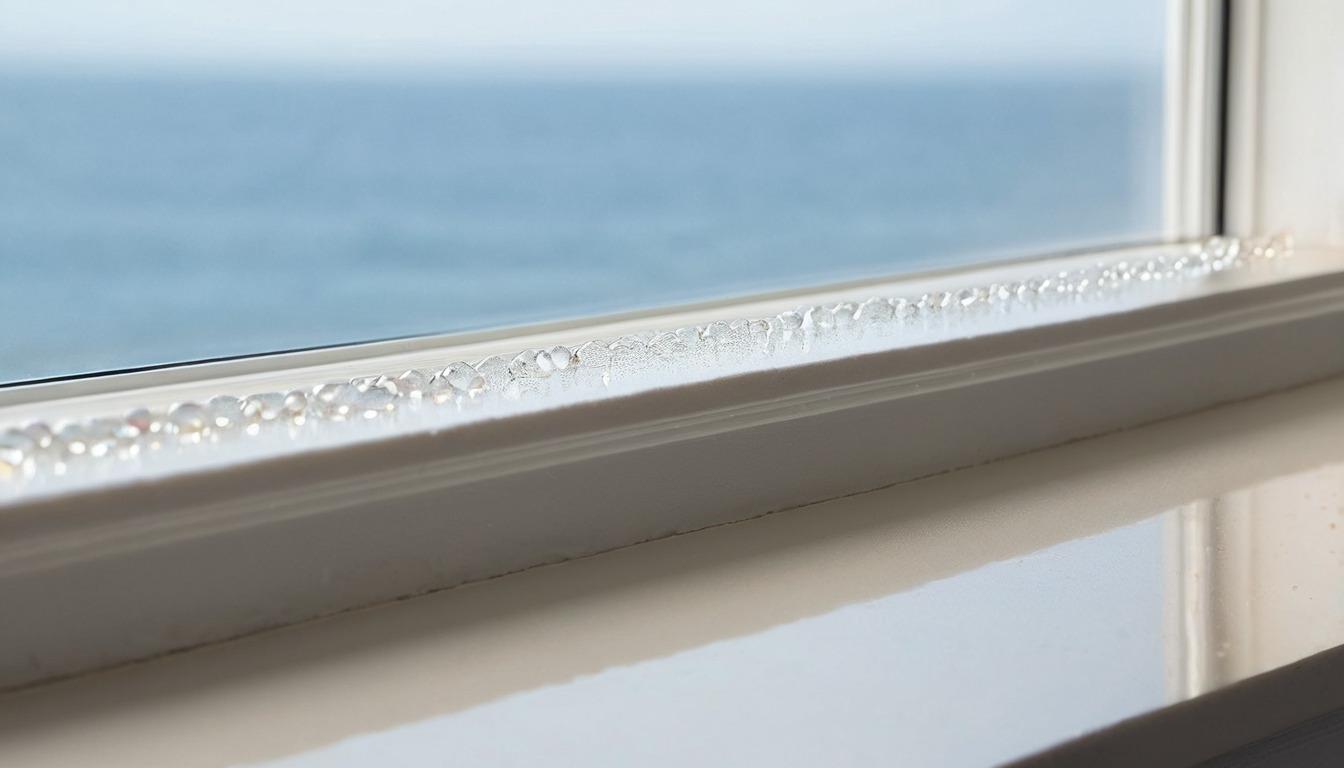
Timeanddate uses Dubai International Airport observations, 43 km from Jebel Ali Free Zone, and gives 54% annual average relative humidity for 1992–2021. That average cannot describe humidity at a particular waterfront home or overnight peak. Warm, moist outside air can condense when it meets a surface cooled below its dew point.
Condensation risk depends on indoor and outdoor conditions, the material and the surface temperature. Check the actual detail before attributing a failure to humidity.
The annual cycle, month by month
The table shows monthly averages from Dubai International Airport, 43 km from Jebel Ali Free Zone. They are background context, not a schedule of exposure at a specific building.
| Month | Mean RH |
|---|---|
| Jan | 62% |
| Feb | 61% |
| Mar | 57% |
| Apr | 48% |
| May | 44% |
| Jun | 50% |
| Jul | 49% |
| Aug | 49% |
| Sep | 55% |
| Oct | 56% |
| Nov | 57% |
| Dec | 62% |
The airport series gives 54% annual average relative humidity. Monthly averages do not establish overnight peaks at a Jebel Ali property.
Dew point is the figure to design against
Relative humidity alone tells you little. Dew point tells you at what surface temperature water will condense. For example, air at 35 °C and 90% RH has a dew point around 33 °C. That is a hypothetical calculation, not a measured Jebel Ali condition. A surface below the dew point can collect moisture.
These are details worth checking on site:
- Cold soffits and window heads can collect moisture when surface temperature falls below the dew point. Check insulation and air leakage at the junction.
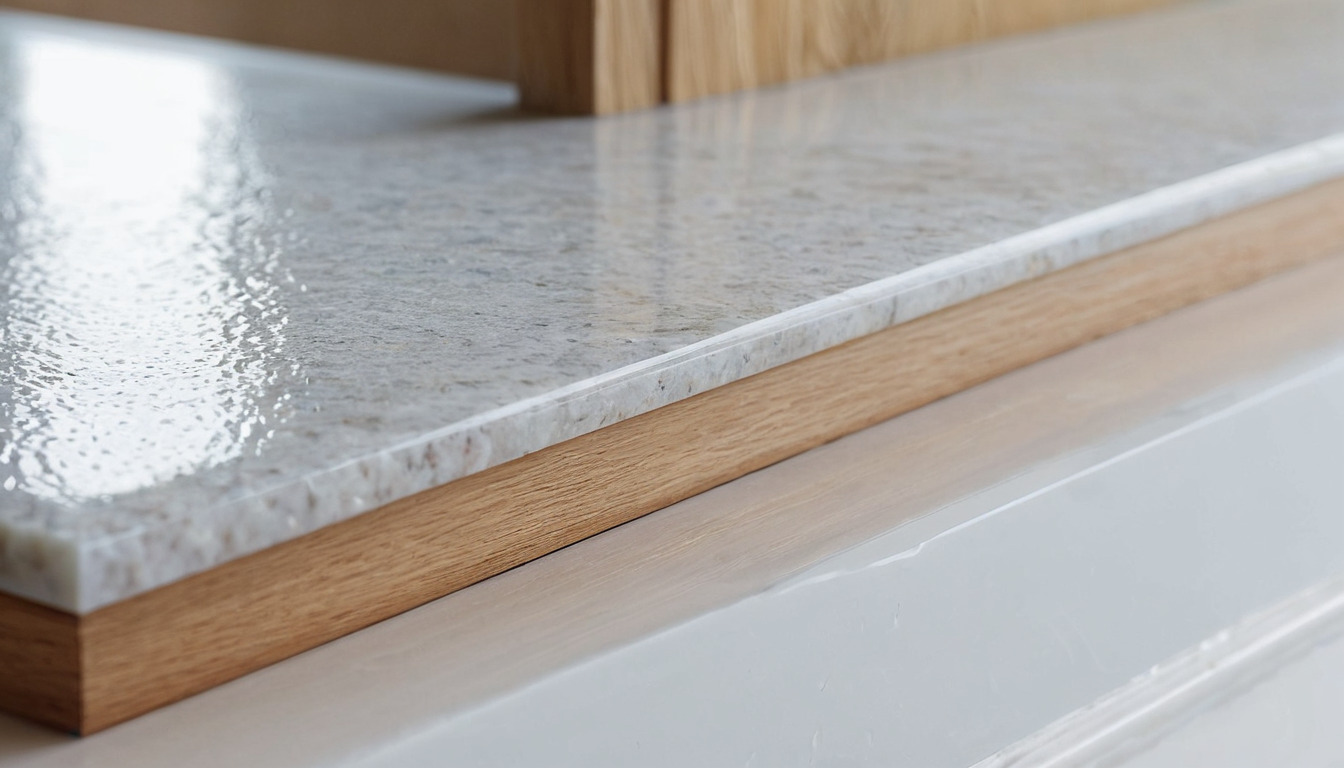
- Stone and porcelain window sills may drain onto joinery. Check the sill slope and water path.
- Timber floors on a cold slab can move if moisture reaches the underside. Measure the substrate and follow the flooring system's moisture-control instructions.
- Wardrobe backs against an external wall can hide moisture or mould. Check for leaks, surface condensation and adequate airflow; size any gap to the joinery and wall.
Joinery and panel products
Wood moves across the grain with moisture change, and panel products move less but fail differently. Edges, adhesives and the timber itself all warrant checking for the intended moisture exposure.
| Material | How it behaves | What to specify |
|---|---|---|
| Solid timber (wide boards) | Cups and gaps across the grain as RH swings | Narrow boards, quarter-sawn where possible, acclimatised in the room before fixing |
| Engineered oak | A layered core can reduce movement; performance varies by product | Check product suitability, installation instructions and wear layer |
| MDF carcasses | Swells at exposed edges if the surface is breached | Seal every edge including the back and the underside, not just the visible faces |
| Chipboard / particle board | Can swell when wet | Check the board rating and wet-room assembly before use |
| Marine plywood | Bond durability depends on the plywood grade and exposure rating | Choose a product rated for the actual exterior exposure |
Edge banding lifted at a corner may indicate moisture, adhesive or impact damage. Ask the joiner which edge band and adhesive are specified, and request the product's temperature and moisture limits.
Adhesives, mortars and grouts
Tile systems need a suitable substrate, installation conditions and curing time. Check the selected product instructions.
- Do not tile into a room that is still drying out. A new screed holds a great deal of water. Check the screed moisture limit in the adhesive and floor-system instructions before tiling.
- Ask the tiler to select an adhesive rated for the substrate, movement and heat exposure in the product data sheet.
- Grout is not a waterproof layer. Cementitious grout is porous. In a wet room the waterproofing is a tanking membrane behind the tile, not the grout on top of it.
- Epoxy grout can offer stain and moisture resistance. Check its suitability, installation requirements and cleaning instructions for the chosen tile.
Plaster and paint
Paper-faced gypsum board can be damaged by persistent wetting and support mould on its facing. Select board and wall assembly for the actual wet exposure, using manufacturer guidance.
In wet rooms, ask the designer to specify a complete wall and waterproofing system rated for the location. Paint choice should follow the wall assembly and moisture conditions; a paint label alone cannot solve damp substrate.
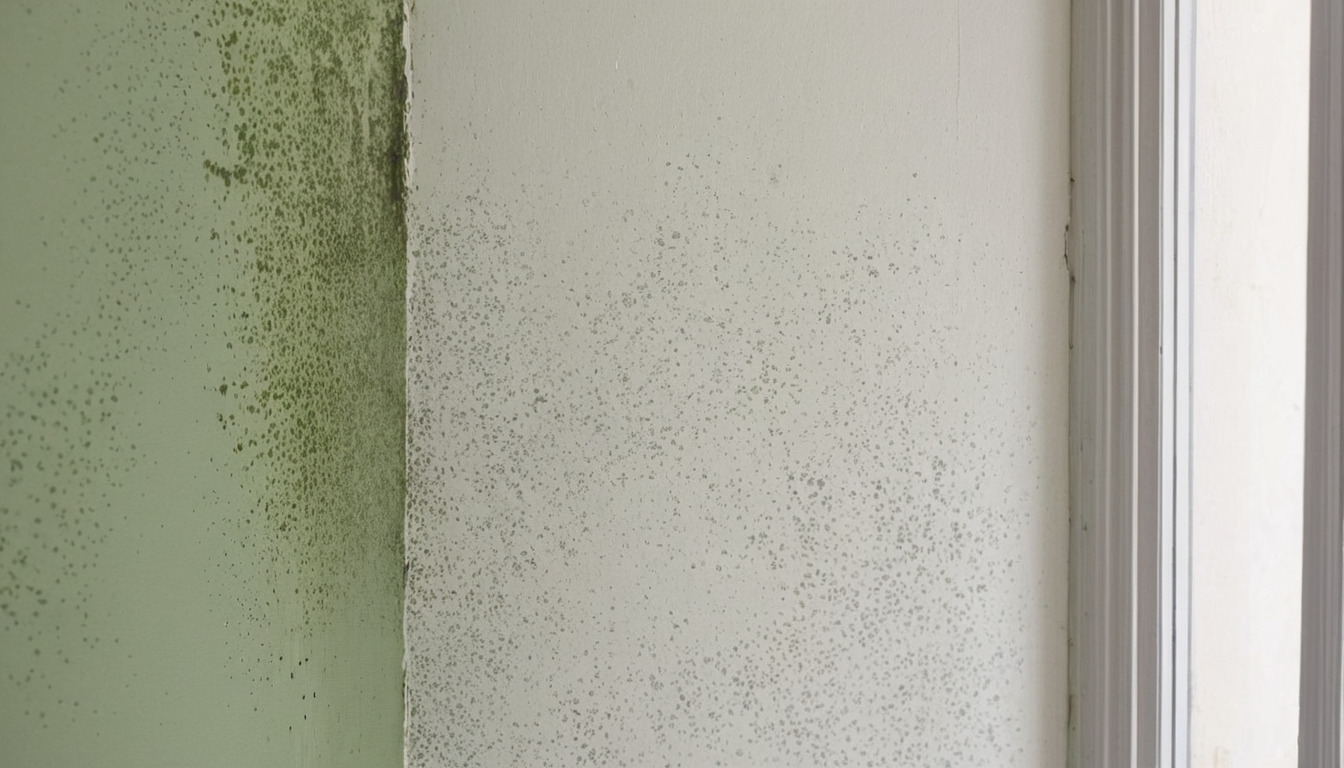
If a wall has already bloomed with mould, cleaning it treats the symptom. Mould on an external wall can result from a thermal bridge, a leak or poor ventilation. Find the moisture source before repair.
A short specification discipline
- Ask for the dew point the design assumes, and check every cold surface against it.
- Require edge-sealed panel products and name the adhesive type, not just the brand.
- Check substrate moisture and use the underlay or moisture-control system required by the flooring manufacturer.
- Check airflow and moisture behind fitted furniture on external walls.
- Detail drips and shadow gaps at every stone sill and threshold.
- Match board, waterproofing and finish to the room and manufacturer instructions.
- Sequence the works so screed and plaster have dried before floor finishes go down.
Recording these decisions during design is easier than diagnosing them after handover, which is why the snagging list in the handover guide includes humidity and cold-bridge checks rather than only cosmetic ones.